


1.2 Creating a JavaScript WorkspaceCreating a WorkspaceAdding The NecessitiesConnecting JavaScriptResources
1.2 Creating a JavaScript Workspace
Creating a Workspace
Let's start with a good organization of our workspace:
- Create a New Folder on your computer. Take note of where you created it on your machine.
- Open that folder using VSCode as so:

Adding The Necessities
In order to run JavaScript, you are going to need a minimum of two files:
- HTML File
This file is the middleman between the JavaScript and the web browser, which is also our "code runner".
- JavaScript File
This file is where we will be writing most of our code.
For that more experienced JavaScript programmer, I know you can shove the JavaScript code into the HTML file, but I just hate cluttering the HTML file with JavaScript.
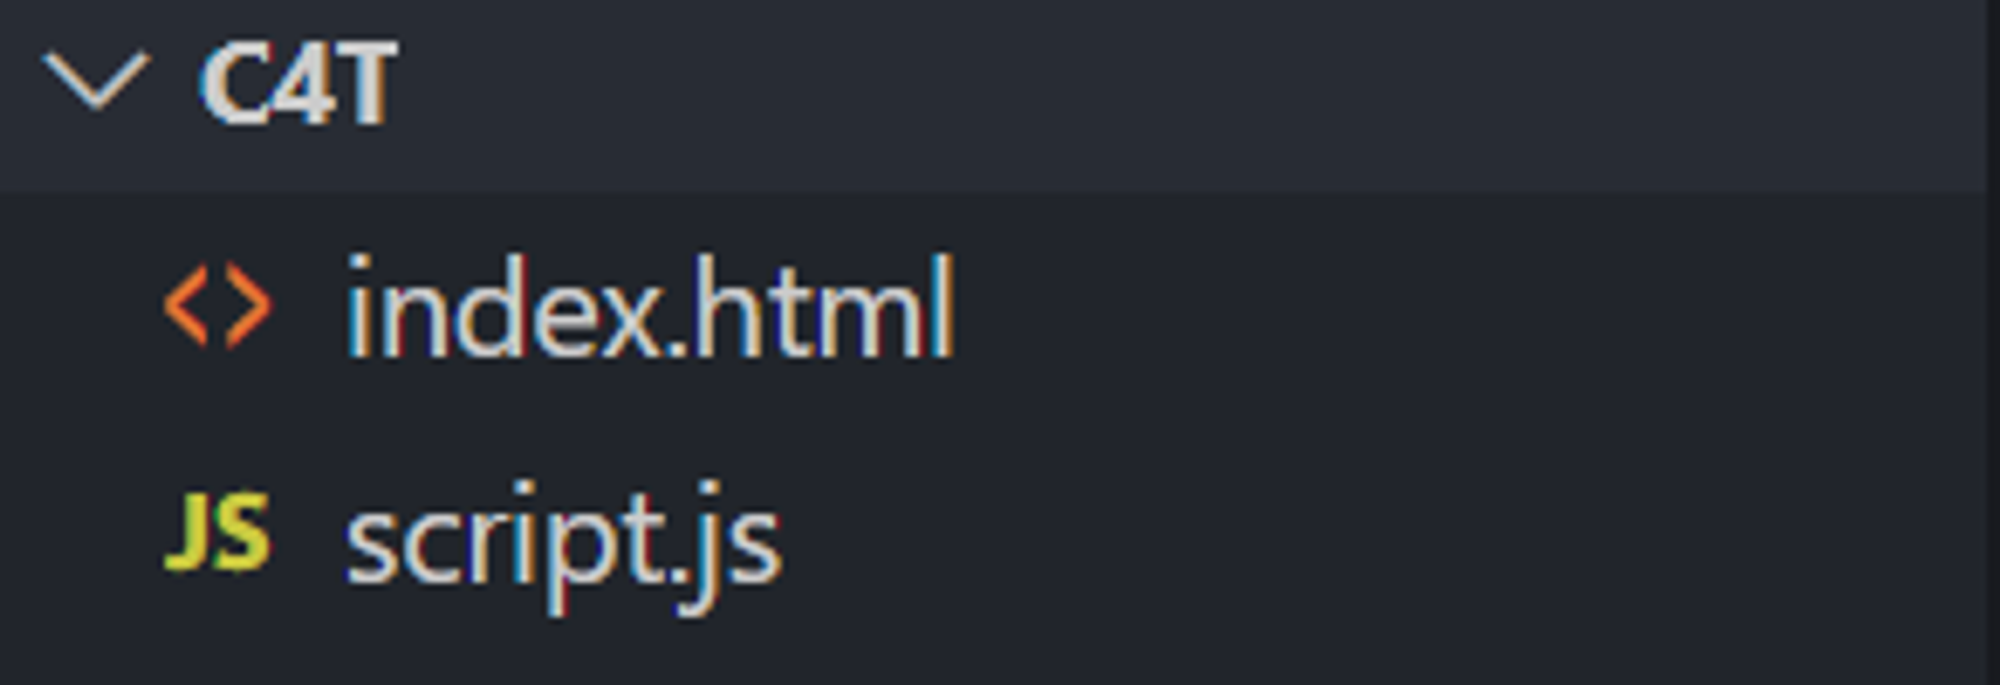
Here's my current workspace structure:
Connecting JavaScript
Here's how you include JavaScript in your workspace:
<script src="{path-to-javascript-file}.js"></script>
The main thing to pay attention to is the
src property. This basically tells the HTML to load up the JavaScript file located in that certain path. In my case, my path is just src="script.js".After that, you have gotten yourself a working JavaScript workspace!
Resources
If you have any issues still, try downloading the project structure use in this chapter:
HTML File
<!DOCTYPE html>
<html lang="en-US">

<head>
  <meta charset="UTF-8">
  <meta name="viewport" content="width=device-width, initial-scale=1">
  <title>My JavaScript Workspace</title>
</head>

<body>
  <script src="script.js"></script>
</body>
</html>
JavaScript File
console.log("LET THIS WORK!");
Previous Section
1.2 Setting Up The EditorNext Section
1.4 Printing to ConsoleCopyright © 2021 Code 4 Tomorrow. All rights reserved.
The code in this course is licensed under the MIT License.
If you would like to use content from any of our courses, you must obtain our explicit written permission and provide credit. Please contact classes@code4tomorrow.org for inquiries.