
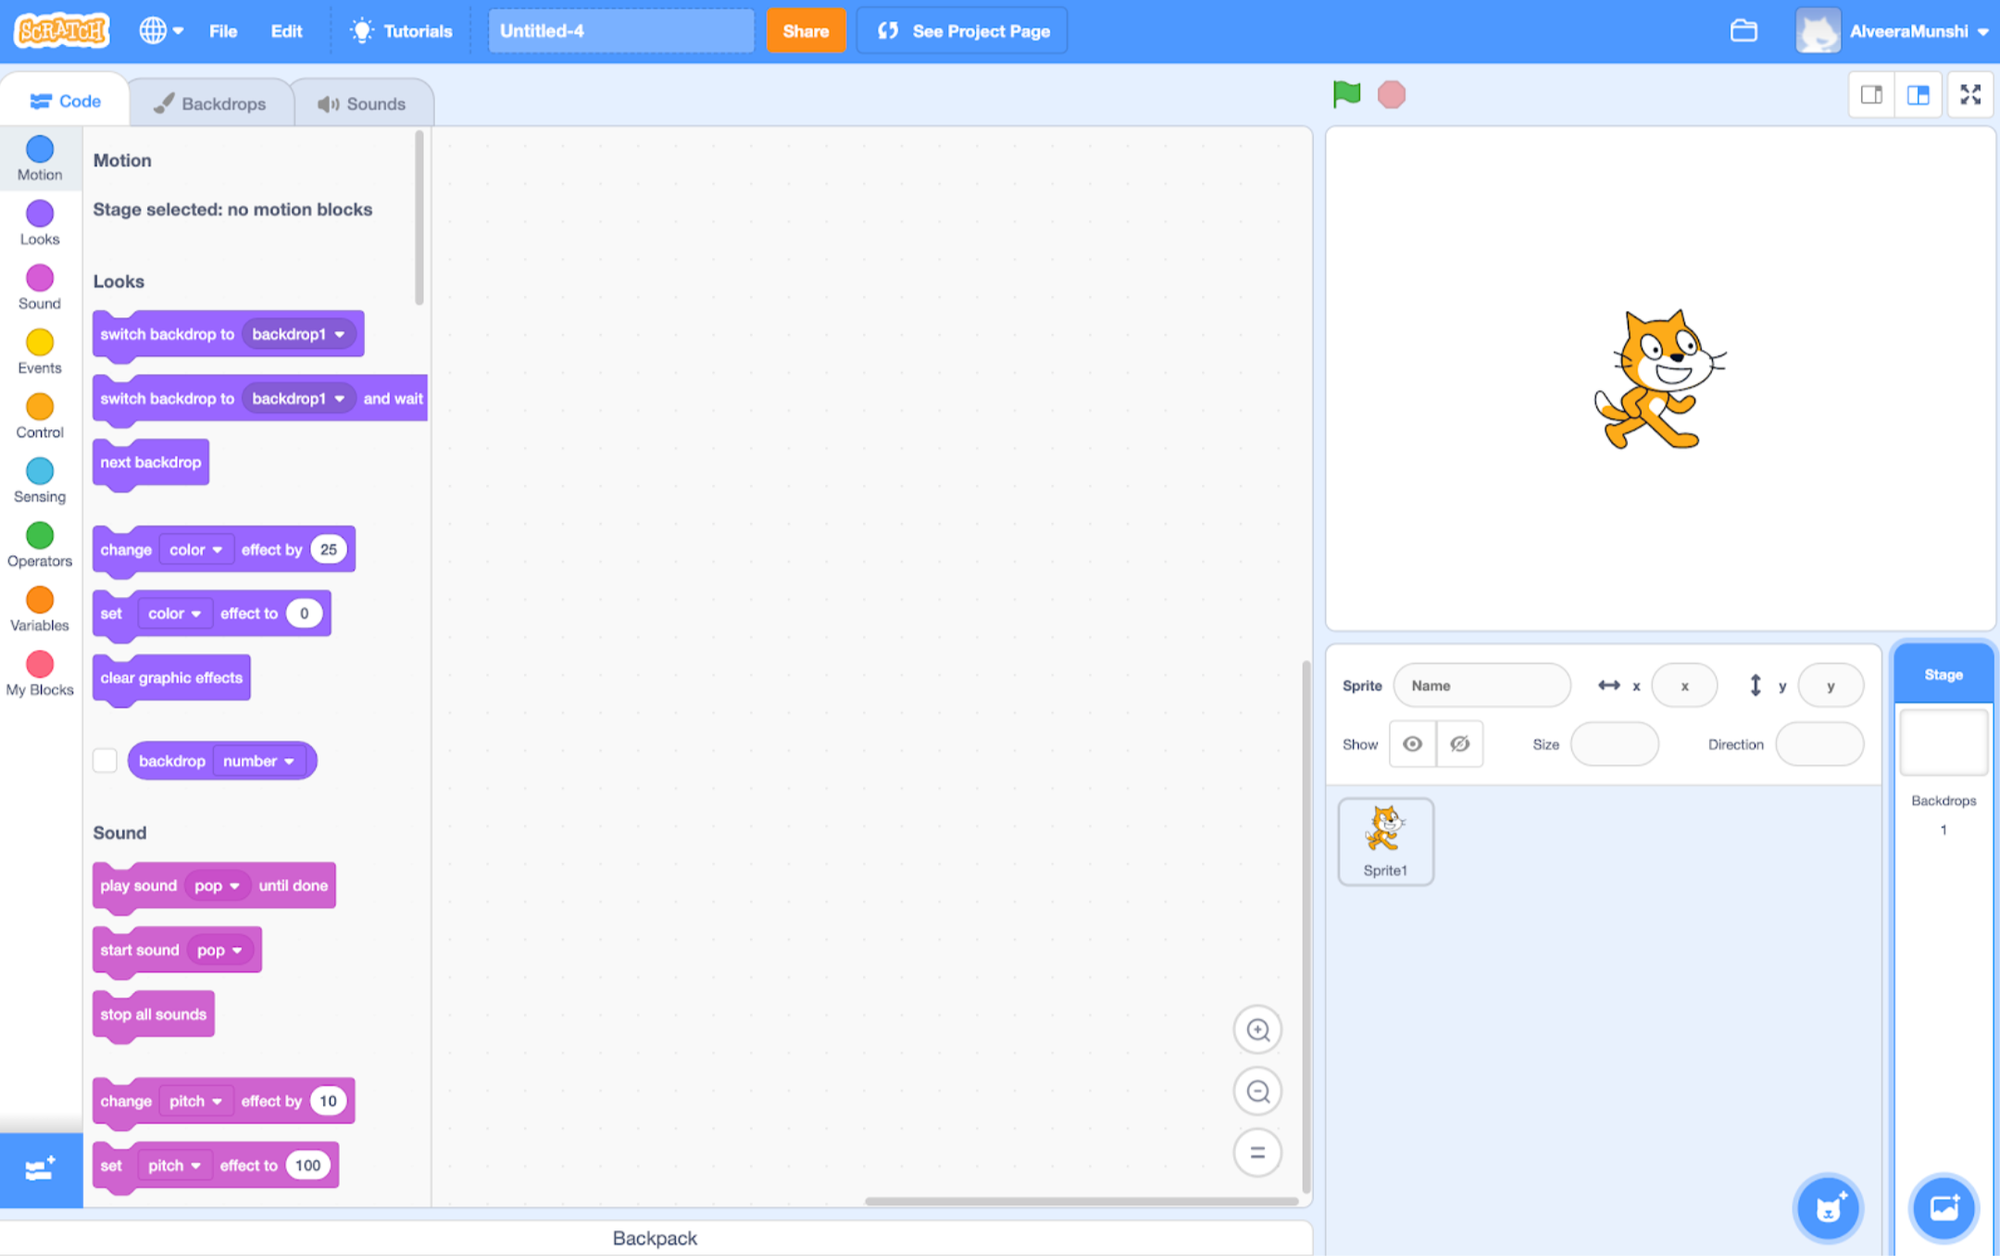
Let’s look at the screen after we have created our project. In the middle of the right side of your screen, you will see a button with a picture of your backdrop. If the project you created is blank, then it is a white rectangle image.

Now we want to click this white rectangle image. This will take us to a background editor. In this background editor, we can create commands directly on the background, and choose a starting background. For now, let’s focus on choosing a starting background. On the left side of the screen, there are three tabs on a pane. Let’s click the backdrops tab. It is the second tab in the pane.
Once we click the backdrops tab, we are shown a new pane with a bunch of different tools. However, we don’t want to use these tools yet. We will use these tools later to make our own background, but for now, we just want to choose one of the backgrounds Scratch has made available to us.

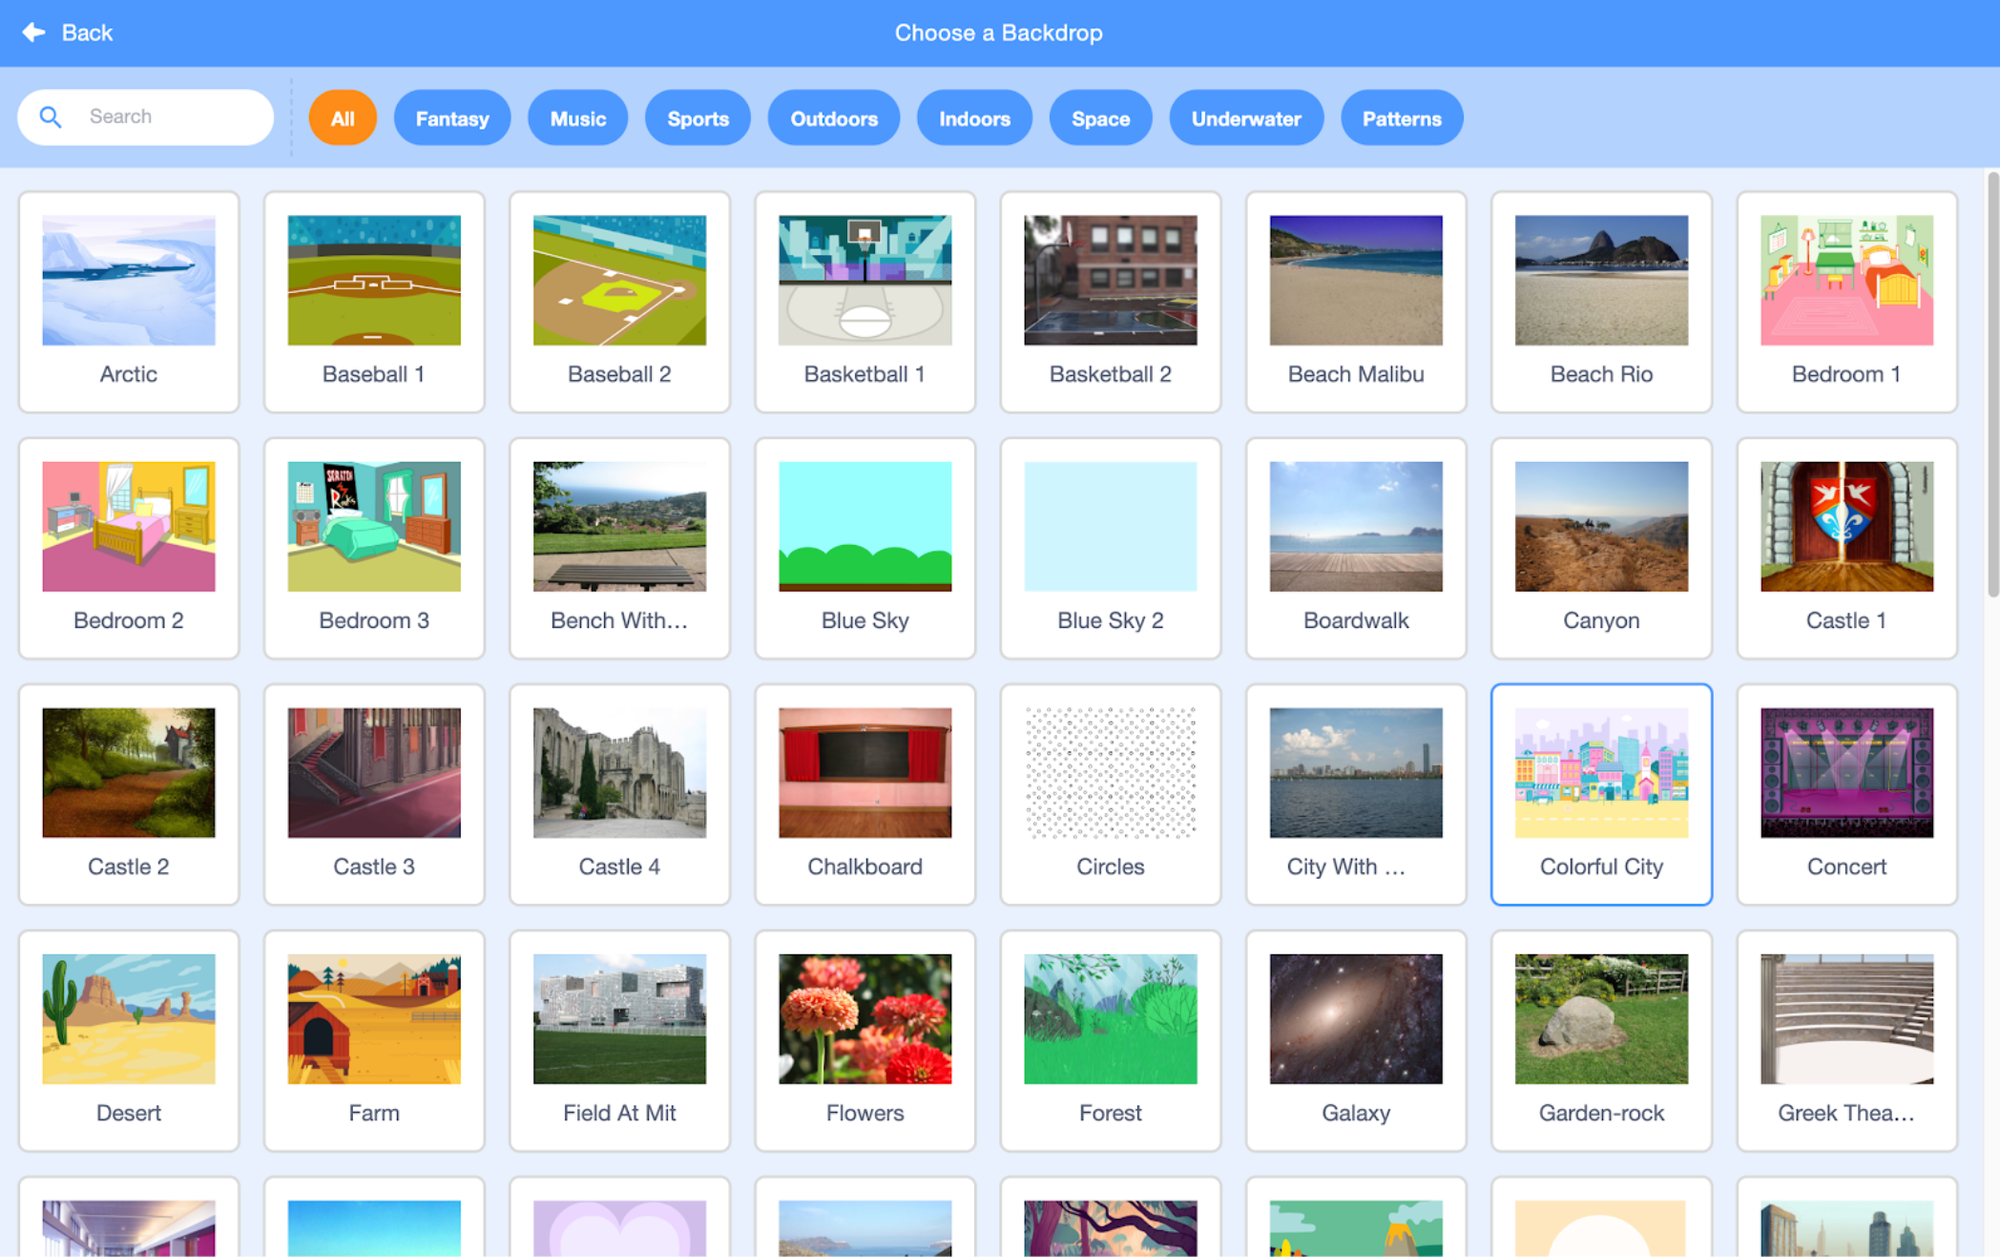
In the bottom left corner, there is a blue button with the icon of an image on it. When you hover over it, it turns green with the message “choose a backdrop.” Let’s click it.

Look at all the options we are given. Choose one that you like. I chose Colorful City.
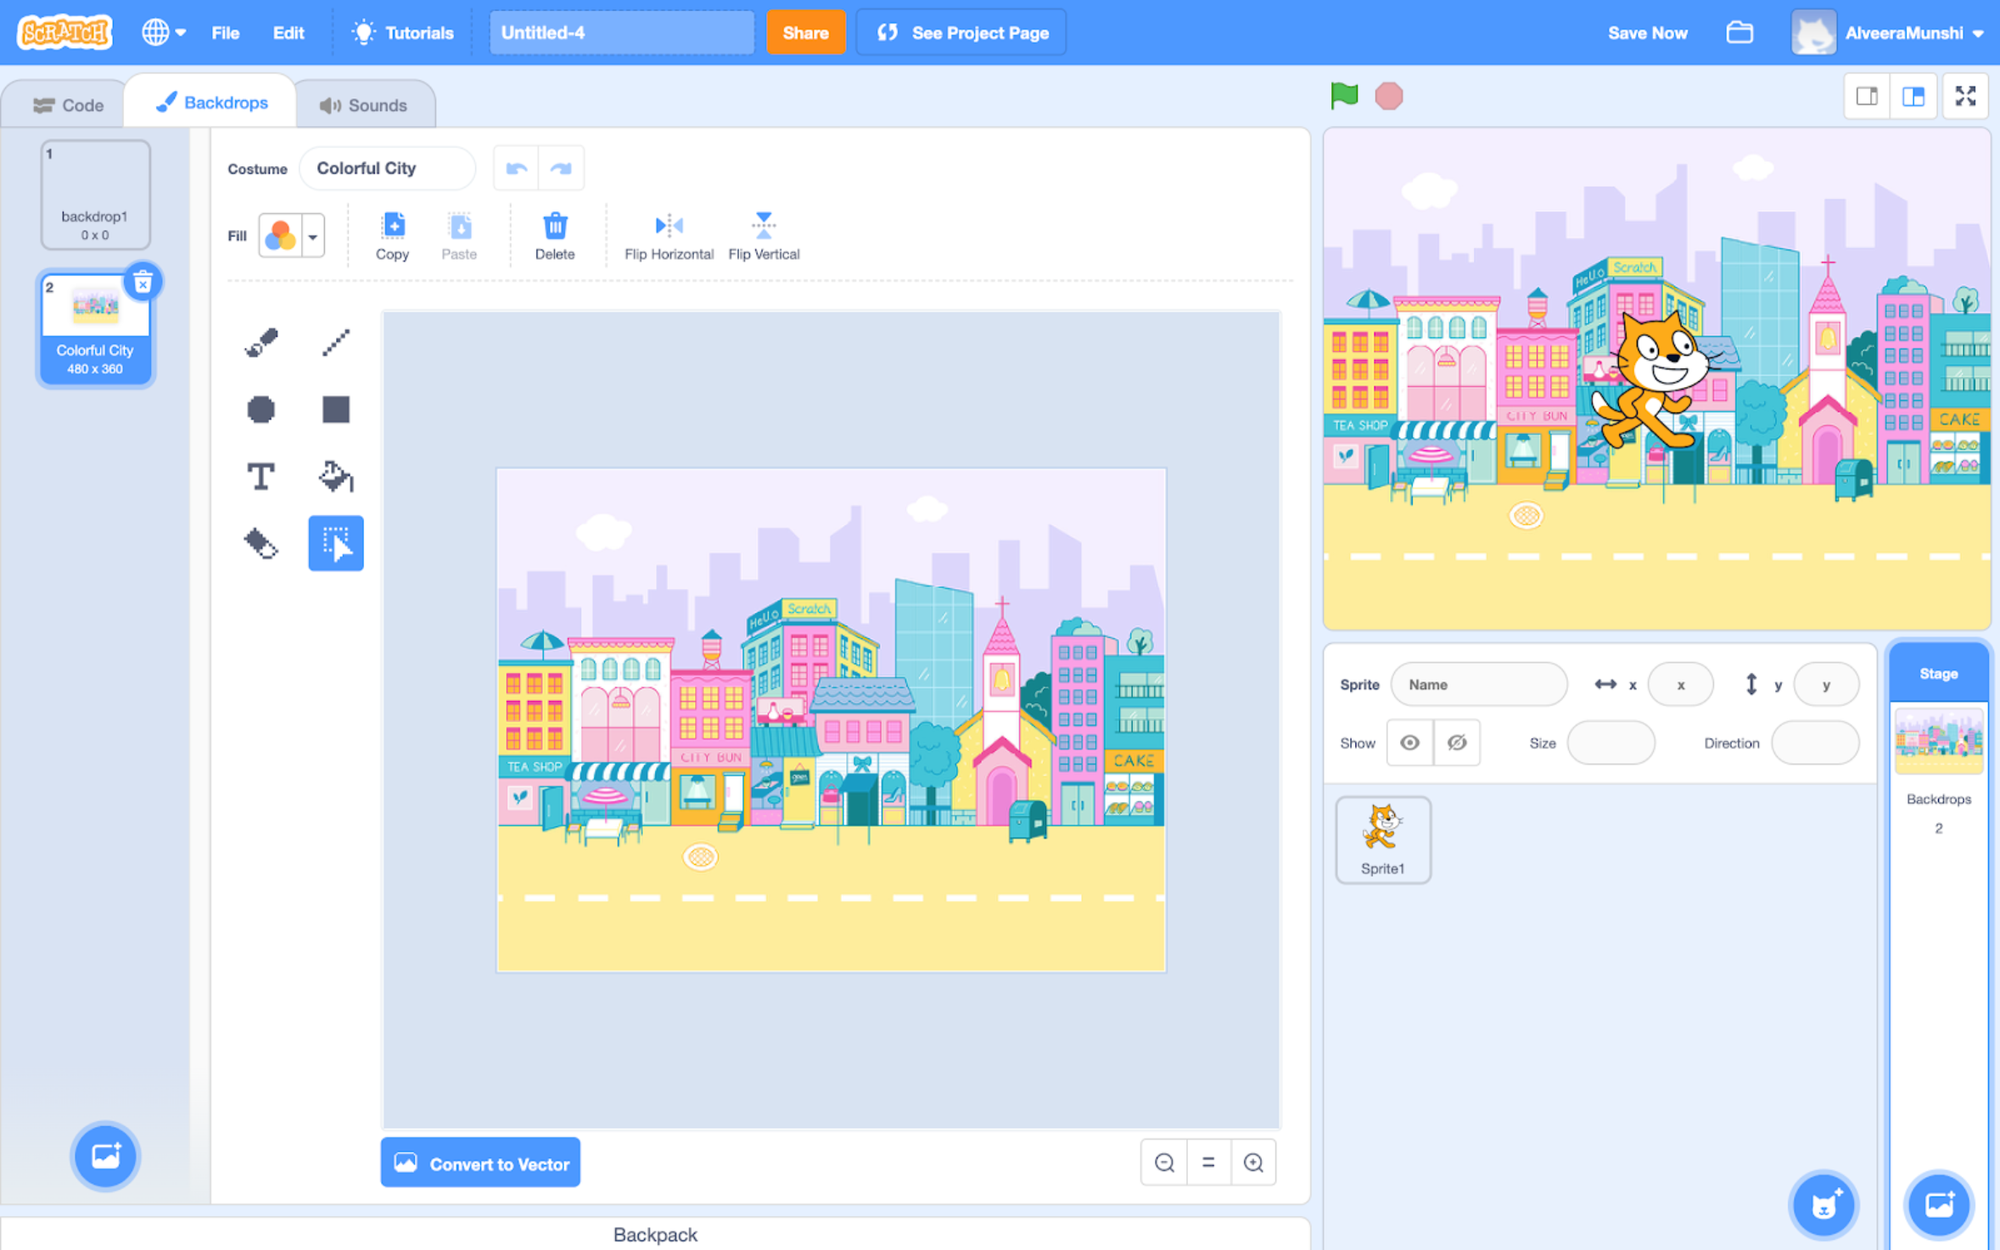
After you click on your choice, your background will look like your choice.
Try choosing your own background if you haven’t already!
Previous Section
Understanding Your WorkspaceNext Section
Drawing BackgroundsCopyright © 2021 Code 4 Tomorrow. All rights reserved.
If you would like to use content from any of our courses, you must obtain our explicit written permission and provide credit. Please contact classes@code4tomorrow.org for inquiries.